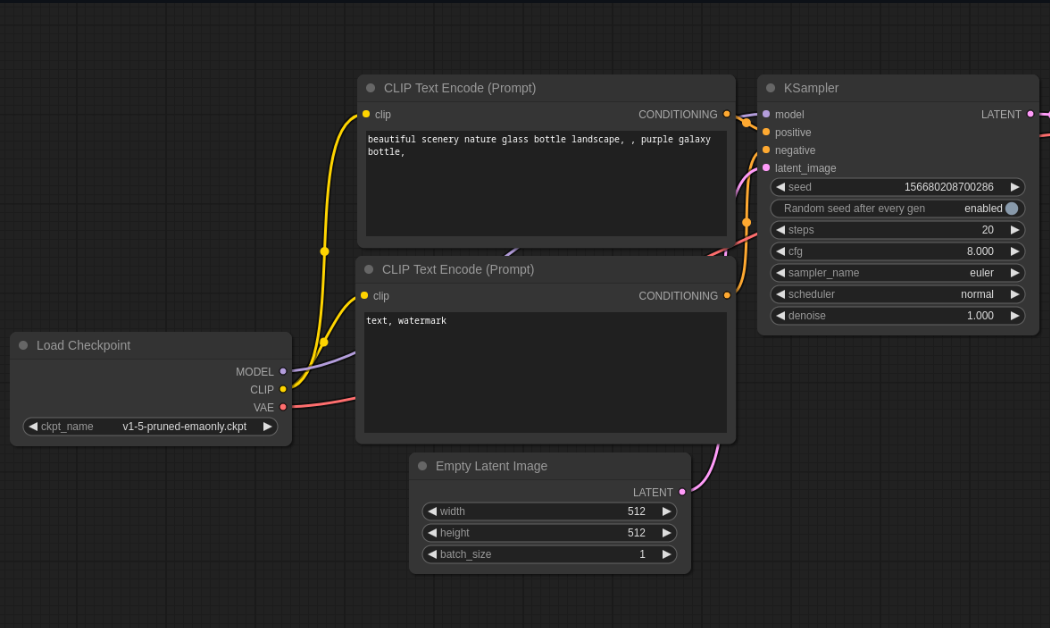
Open WebUI supports image generation through ComfyUI backend. This guide will help you set up this integration.
ComfyUI offers an alternative interface for managing and interacting with image generation models. Learn more or download it from its GitHub page. Below are the steps to set up ComfyUI alongside your existing tools.
Initial Setup
- Download and Extract: Download the ComfyUI software package from GitHub and extract it to your preferred directory.
- Start ComfyUI: Run the following command to launch ComfyUI:
python main.pyFor systems with lower VRAM, use the following command to optimize memory usage:
python main.py --lowvram- Docker Installation: For a Docker-based WebUI setup with preset environment variables, run:
docker run -d -p 3000:8080 --add-host=host.docker.internal:host-gateway -e COMFYUI_BASE_URL=http://host.docker.internal:7860/ -e ENABLE_IMAGE_GENERATION=True -v open-webui:/app/backend/data --name open-webui --restart always ghcr.io/open-webui/open-webui:mainSetting Up Open WebUI with ComfyUI
Step 1: Configure Open WebUI Settings
- Go to Admin Panel in Open WebUI.
- Click Settings, then select the Images tab.
- In the Image Generation Engine field, select ComfyUI.
- Enter the API URL where ComfyUI is running, following this format:
http://<your_comfyui_address>:8188/. - Set the environment variable
COMFYUI_BASE_URLto this address to ensure it’s persistent in the WebUI.
Step 2: Verify Connection and Enable Image Generation
- Make sure ComfyUI is running, then verify the connection with Open WebUI.
- Once verified, toggle Image Generation (Experimental). You’ll now see additional options.
Step 3: Configure ComfyUI Settings and Import Workflow
- Enable developer mode in ComfyUI by clicking the gear icon above the Queue Prompt button and enabling Dev Mode.
- Export the desired workflow from ComfyUI using the Save (API Format) button. This will download the file as
workflow_api.json. - In Open WebUI, click Click here to upload a workflow.json file, and select the
workflow_api.jsonto import the workflow. - After importing, map the ComfyUI Workflow Nodes according to the imported node IDs.
Info: You may need to adjust some Input Keys in Open WebUI’s ComfyUI Workflow Nodes to match your workflow’s node IDs (e.g., rename
seedtonoise_seed).Tip: Workflows utilizing Flux models may require multiple node IDs. Separate these IDs with commas in the node entry field (e.g.,
1or1, 2).
Click Save to apply the settings and start generating images with ComfyUI in Open WebUI!
FLUX.1 Model Setup
- Download Model Checkpoints: Download either the
FLUX.1-schnellorFLUX.1-devmodel from the Black Forest Labs HuggingFace page. - Place the model checkpoints in both the
models/checkpointsandmodels/unetdirectories in ComfyUI. Alternatively, you can create a symbolic link between the two directories. - VAE Model: Download the
ae.safetensorsVAE and place it in themodels/vaedirectory. - CLIP Model: Download the
clip_l.safetensorsfile and place it in themodels/clipdirectory. - T5XXL Model: Download either the
t5xxl_fp16.safetensorsort5xxl_fp8_e4m3fn.safetensorsmodel and place it in themodels/clipdirectory.
By completing these steps, you’ll have successfully integrated ComfyUI with Open WebUI, enabling the use of FLUX.1 models for image generation.
Read related articles and guides:
